Test Creation
Note! To add a test, you have to create the first field.
1. Go to the field test page. There are two ways to do so:
First – go to the main page and click on “Field Tests”.

Second – open the menu and click on “Field Tests”.

2. On the Field Tests page, click on “Add Test”.
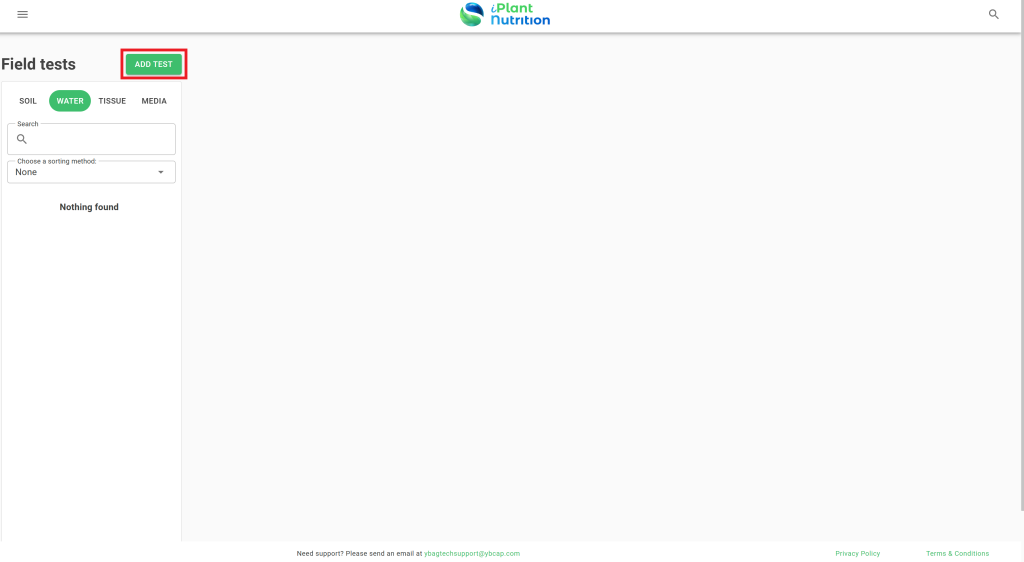
3. Select one of the proposed test types.

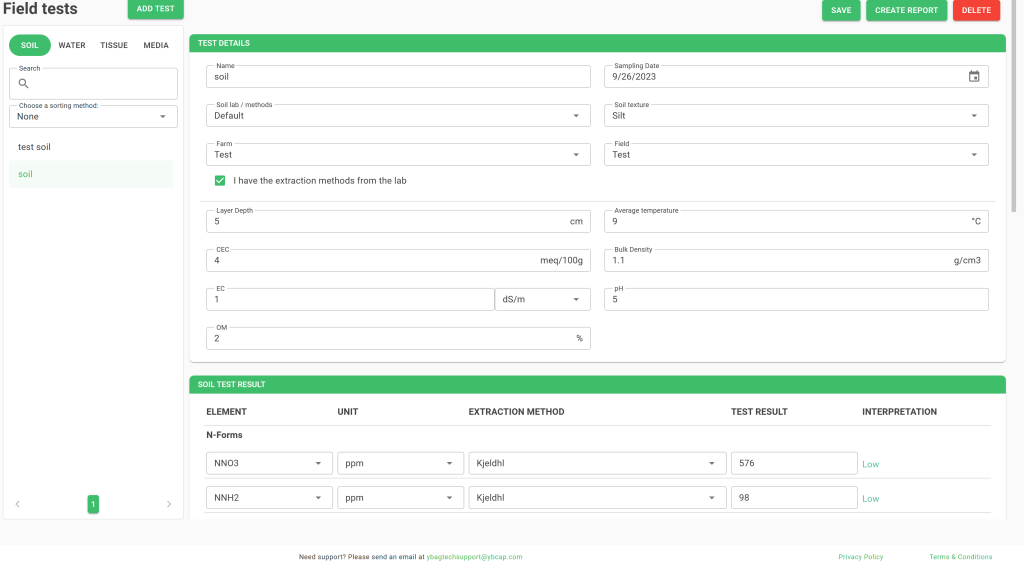
4. The test consists of three parts:
First – “Test Detales”. Here you have to add the information about your test.

Second – “Soil Test Result”. View of this part depends on the “I have the extraction methods from the lab”.
With this check:

Without this check:

Third – “Interpretation Chart”. It exists for better understanding.

5. As you fill in all the information, click on “Save”.
Congratulations, you have created your first test! Now you can use it for program creation. Also, you can create a report of the existing test and download it in PDF or Excel format.